

Key Takeaways
- Smartphone cameras can capture compelling concert photos when you understand light and timing.
- Your position in the venue matters more than the price of your camera.
- Burst mode and manual exposure adjustments are your most powerful tools in low light.
- Emotional moments - not just action - define the strongest live music images.
- Venue rules on photography vary; always check policies before shooting.
What you will need
Why Concert Photography Is More Accessible Than You Think
There's a persistent myth that great concert photography belongs exclusively to credentialed press shooters wielding thousand-dollar lenses from the photo pit. The truth is more democratic. The fundamentals that separate a memorable shot from a blurry one - light awareness, anticipation, composition - are skills available to anyone with a charged phone and a seat in the house.
Live music is one of the richest visual environments you can find: theatrical lighting rigs, genuine emotion on performers' faces, a crowd alive with energy. The challenge isn't that the ingredients aren't there. It's learning to work with the conditions rather than against them. Understanding a few core principles before you walk through the venue doors makes an enormous difference - and pairs naturally with thinking about your overall show experience. Where you stand or sit, for instance, shapes every shot you'll attempt. Our breakdown of general admission vs. reserved seating can help you think through positioning before you even buy a ticket.
What you will need
What You Need Before You Start
Before diving into technique, gather your tools and set your expectations. Concert photography is a game of preparation - the shot you wanted thirty seconds ago is already gone.
Smartphone with a modern camera
The primary capture device - most current smartphones perform adequately in low-light venues.
Portable battery pack
Keeps your phone charged through a long set when burst shooting drains the battery quickly.
Photo editing app (e.g., Snapseed)
Used after the show to adjust exposure, contrast, and color balance on selected images.
Point-and-shoot camera with manual mode
An alternative to smartphones that may offer better optical zoom and manual shutter control.
One thing worth checking before any show: venue photography policies. Many clubs and arenas restrict professional cameras with detachable lenses but permit smartphones. Some artists request no phone cameras during specific songs. Respecting these rules isn't just courteous - it keeps you from losing your device to security mid-set.
Step-by-Step: Getting the Shot
Follow these steps from the moment you arrive at the venue through the final song. Each one builds on the last.
Scout your position before the show starts
Arrive early enough to walk the floor. Identify where the main lights point - typically downstage center and to each side. Positions roughly 20-40 feet from the stage and slightly to one side often yield the most dramatic angles, catching light falling across a performer's face rather than washing it out from behind. Elevated spots like a mid-level balcony can also work well for wide crowd shots.
Adjust your camera's exposure settings before the first song
Most smartphone camera apps allow some manual control. On iPhone, tap and hold on the subject to lock focus, then slide the sun icon down to reduce exposure slightly - this prevents the highlights from blowing out when a spotlight hits. On Android, look for a Pro or Manual mode that lets you set ISO and shutter speed directly. A shutter speed of 1/100s or faster will reduce motion blur on a moving performer.
Use burst mode during peak moments
Live performance is constant motion. Rather than trying to press the shutter at exactly the right instant, hold down the shutter button to fire a rapid series of frames (burst mode). On most smartphones this is activated by pressing and holding or swiping the shutter button. Review the burst afterward and select the single frame where expression, light, and composition align best - then delete the rest to save storage.
Frame for emotion, not just action
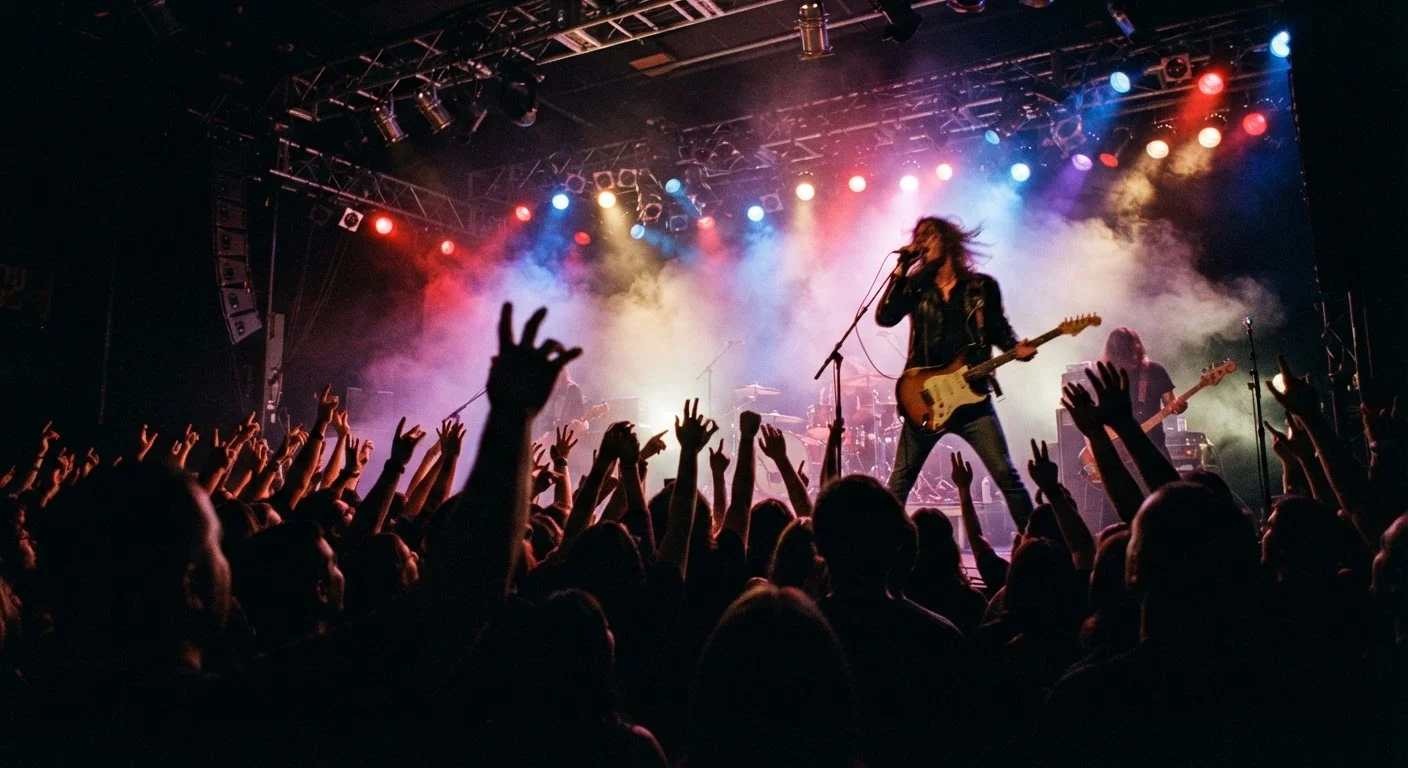
Resist the instinct to always center the performer and capture the full stage. Tighter compositions - a guitarist's hands, a singer's profile against a colored backdrop, the crowd stretching toward the stage - often communicate more feeling than wide shots that show everything. Use the rule of thirds: place your subject off-center, where one of the grid lines falls, to create visual tension and depth.
Edit minimally and intentionally after the show
A quick edit can rescue a dark or flat image. Increase exposure and shadows to bring out detail in dark areas, then pull highlights down to keep bright lights from overwhelming the frame. Raise contrast slightly to restore punch. Keep color adjustments subtle - the warm and cool tones of stage lighting are part of the atmosphere; removing them strips the image of its mood. Free apps like Snapseed or your phone's built-in editor are sufficient for this kind of light correction.
Reading Light and Emotion - The Two Things That Actually Matter
Technical settings will only get you so far. The shots people remember - the ones that end up as album artwork, tour posters, and framed prints - tend to share two qualities: they catch light in an interesting way, and they capture a genuine human moment.
Concert lighting cycles in predictable patterns during most songs. Watch the show for a full song before shooting seriously. Notice when the strobes hit, when a warm spotlight isolates the singer, when a color wash floods the stage. That rhythm becomes your shooting window. Aim your burst mode at the peak of a lighting beat rather than during transition darkness.
Equally important: look beyond the performer. A fan's face mid-chorus, hands reaching toward the stage, the drummer lost in concentration - these are the images that communicate what it actually felt like to be there. That's ultimately what live attendance offers that a stream never can: physical presence encoded in an image.
Watch One Full Song Before Shooting
Resist pulling out your phone the moment the headliner takes the stage. Spend the first song watching the lighting design, the performer's movement patterns, and the crowd's energy peaks. That single song of observation will make every frame you shoot afterward more intentional and better lit.
If you're attending a local or community show, the stakes are lower and the freedom is often greater - a perfect environment to practice these techniques. Supporting those scenes also matters beyond photography; see our thoughts on sustaining local live music for more context.