

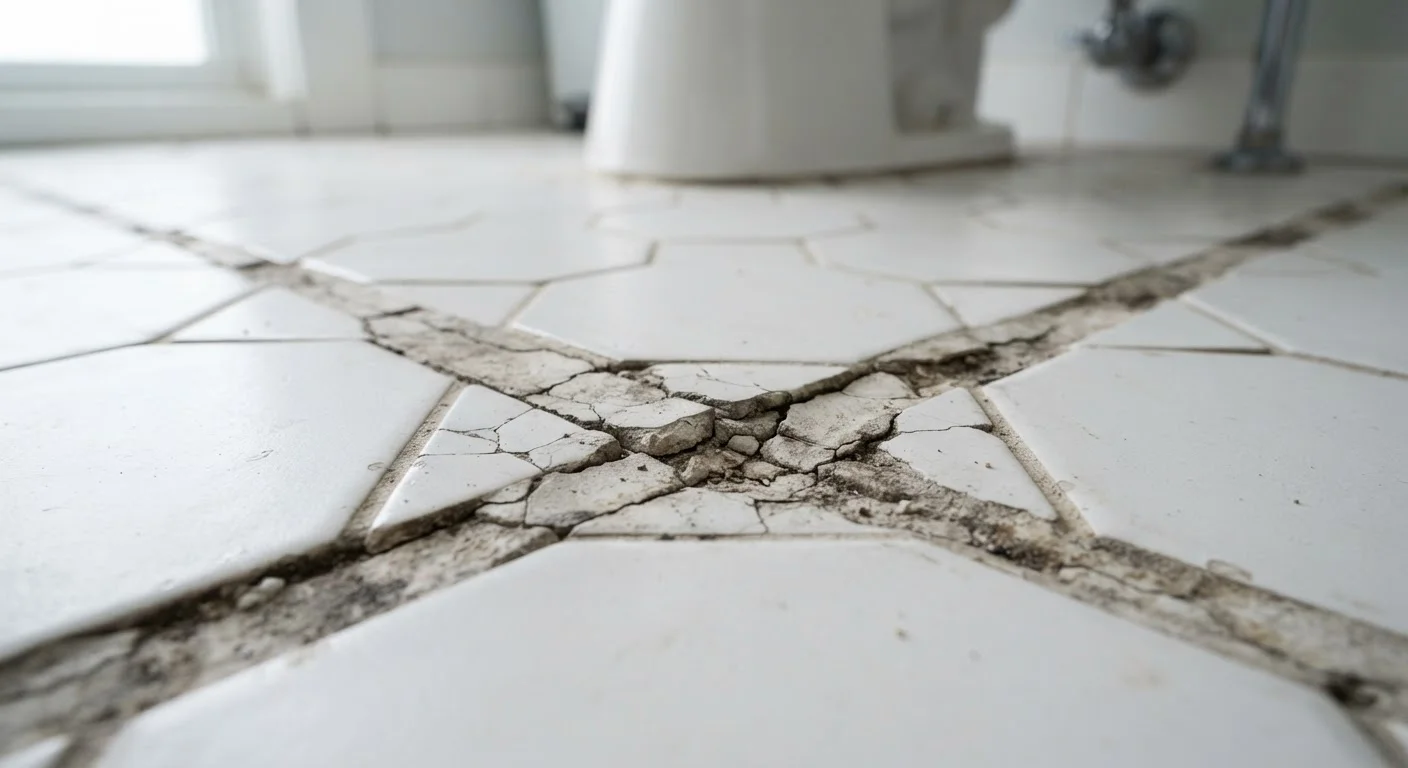
Key Takeaways
- Cracking grout is usually a symptom of a deeper structural or installation problem, not just surface wear.
- Skipping movement joints and using the wrong grout type are among the most common mistakes homeowners and installers make.
- Addressing the underlying cause-not just re-grouting-is essential to a long-lasting fix.
- Substrate flexibility and moisture exposure significantly affect how long grout holds up over time.
Why Cracking Grout Deserves More Than a Quick Fix
Few home repairs are as frustrating as watching freshly applied grout crack within weeks of installation. Before reaching for a tube of grout repair compound, it helps to understand that cracking grout is almost never a cosmetic problem on its own-it's a signal that something beneath or behind the tile is working against the installation.
Grout is a rigid, cement-based material. It bonds to tile edges and fills the joints between them, but it has very little flexibility. Any movement in the floor or wall system-whether from structural settling, seasonal expansion and contraction, or a substrate that wasn't properly prepared-will be transferred directly to the grout joint, and the grout will lose every time.
Understanding what's actually causing the cracking is the only way to stop it from happening again. The mistakes below represent the most common root causes seen in failed tile installations across residential homes.
Installing tile over a substrate that flexes or moves.
Why it happens: Many homeowners tile directly over plywood subfloors or drywall that wasn't designed for tile, not realizing these materials deflect under foot traffic or humidity changes.
Skipping or improperly placing movement (expansion) joints.
Why it happens: Movement joints are often omitted because they're considered an extra step, and installers assume grout alone can handle the natural expansion and contraction of building materials.
Using the wrong grout type for the joint size or application.
Why it happens: Grout packaging can be confusing, and many DIYers simply pick whatever is available or matches the tile color without checking whether it's rated for their joint width or environment.
Mixing grout with too much water.
Why it happens: Adding excess water makes grout easier to spread and tool, but it also weakens the finished product by increasing porosity and reducing compressive strength as it cures.
Grouting before the tile adhesive or thinset has fully cured.
Why it happens: Impatience is the primary culprit-thinset may feel firm to the touch within a few hours, but it continues to cure and off-gas moisture for much longer, and grouting too early traps that moisture.
Failing to account for in-floor heating systems or radiant heat.
Why it happens: Radiant floor heating causes repeated thermal expansion cycles that standard grout cannot handle without special preparation, a detail often overlooked during planning.
How to Properly Diagnose and Address the Problem
Once you've identified which mistake (or combination of mistakes) applies to your situation, you can make a more informed decision about whether a DIY repair is appropriate or whether a licensed tile contractor should assess the installation.
Don't Re-Grout Before Diagnosing the Root Cause
Applying new grout over cracked joints without fixing the underlying problem will result in the same cracking recurring-often within months. If the substrate is moving, the adhesive has failed, or expansion joints are missing, no amount of fresh grout will provide a lasting repair. Take time to tap tiles, inspect joints, and identify whether the issue is cosmetic or structural before purchasing materials.
If grout is cracking along the entire perimeter of a room, at transitions between flooring types, or in a repeating diagonal pattern, these are signs of substrate movement or missing expansion joints-issues that typically require more than surface repair. Popping or hollow-sounding tiles (test by tapping gently) indicate the tile itself may have lost its bond to the substrate, which means re-grouting alone won't hold.
For isolated cracks caused by minor settling or improper grout mix, carefully removing the damaged grout with an oscillating multi-tool and applying a properly mixed, correctly rated grout product can be an effective DIY repair. Always match grout type to the joint width: sanded grout is generally appropriate for joints wider than 1/8 inch, while unsanded grout works better for narrower joints.
L/360
Minimum floor stiffness standard for tile installation
The Tile Council of North America recommends that floors deflect no more than the span length divided by 360 to prevent grout and tile failure.
20-25 ft
Recommended spacing for interior movement joints
According to industry installation standards, movement joints should be placed in large tiled fields at intervals no greater than 20 to 25 feet in each direction.
When in doubt about the structural integrity of the substrate or the extent of tile bond failure, consulting a licensed tile installer before investing in materials and labor will save time and money in the long run.