

Key Takeaways
- Repair method depends on hole size: small holes need mesh patches, large holes require a backing board or drywall backer.
- Joint compound must dry fully between coats - rushing this step causes cracking and poor adhesion.
- Feathering the edges of compound is the key technique for an invisible, paint-ready finish.
- Priming the patched area before painting prevents sheen differences and uneven color absorption.
- Always check for electrical wiring or plumbing before cutting into walls.
What you will need
Choosing the Right Repair Method
Drywall damage falls into three general categories, and the right fix depends on the size of the hole or crack you're dealing with.
- Hairline cracks and nail pops: These need only a thin coat of joint compound and light sanding - no patch required.
- Small holes (up to about 4 inches): Self-adhesive mesh patches or California patch techniques work well and require minimal framing support.
- Large holes (over 4 inches): These require cutting the damaged area into a clean rectangle, installing wood backing or a backer board, and fitting a new piece of drywall - the same approach used in broader renovation work.
If you're tackling repairs as part of a bigger project, it helps to understand how drywall work fits into a larger timeline. Our renovation planning guide covers how to sequence repairs like this alongside other improvements.
What you will need
Tools and Materials You'll Need
Gathering everything before you start prevents mid-project interruptions and keeps your repair work consistent.
Utility knife
Cuts drywall cleanly when squaring off damaged sections.
Drywall saw (jab saw)
Makes quick, controlled cuts for larger hole repairs.
Self-adhesive mesh patch
Bridges small holes and provides a surface for compound to adhere to.
Drywall screws and 1×3 wood backing strips
Support new drywall sections in large-hole repairs where studs aren't accessible.
Joint compound (all-purpose or lightweight)
Fills, covers, and smooths the patch over multiple coats.
Taping knife (6-inch and 10-inch)
Applies and feathers compound; wider knife is essential for blending edges.
Sandpaper (120-grit and 220-grit)
Smooths dried compound between coats and prepares the surface for priming.
Drywall primer
Seals the patched area so topcoat paint absorbs evenly without flashing.
Step-by-Step Patching Instructions
Follow these steps in order. Skipping ahead - particularly through drying time - is the most common reason amateur patches crack, sag, or show through paint.
Assess and prepare the damaged area
Remove any loose paper, crumbled gypsum, or protruding fasteners around the damage. For nail pops, drive the nail slightly below the surface with a hammer and add a drywall screw 2 inches above and below it for stability. For holes, clear away all fragile edges so you're working with solid material throughout.
Apply a mesh patch (small holes up to 4 inches)
Peel and stick a self-adhesive mesh patch over the hole, centered so the mesh extends at least 1 inch beyond the damage on all sides. Press it flat against the wall. For the California patch method (no hardware needed): cut a drywall piece slightly larger than the hole, score the back, snap it, and peel away the gypsum - leaving a paper border that bonds directly to the wall surface without a separate patch.
Install backing and new drywall (large holes)
Use a drywall saw and square to cut the hole into a clean rectangle. Cut two 1×3 wood strips several inches longer than the hole height and insert them vertically inside the opening, flush against the existing drywall edges. Drive drywall screws through the existing wall into the strips on each side. Cut a drywall patch to fit snugly in the opening, then screw it into the backing strips. Apply drywall tape (paper or mesh) over all seams.
Apply the first coat of joint compound
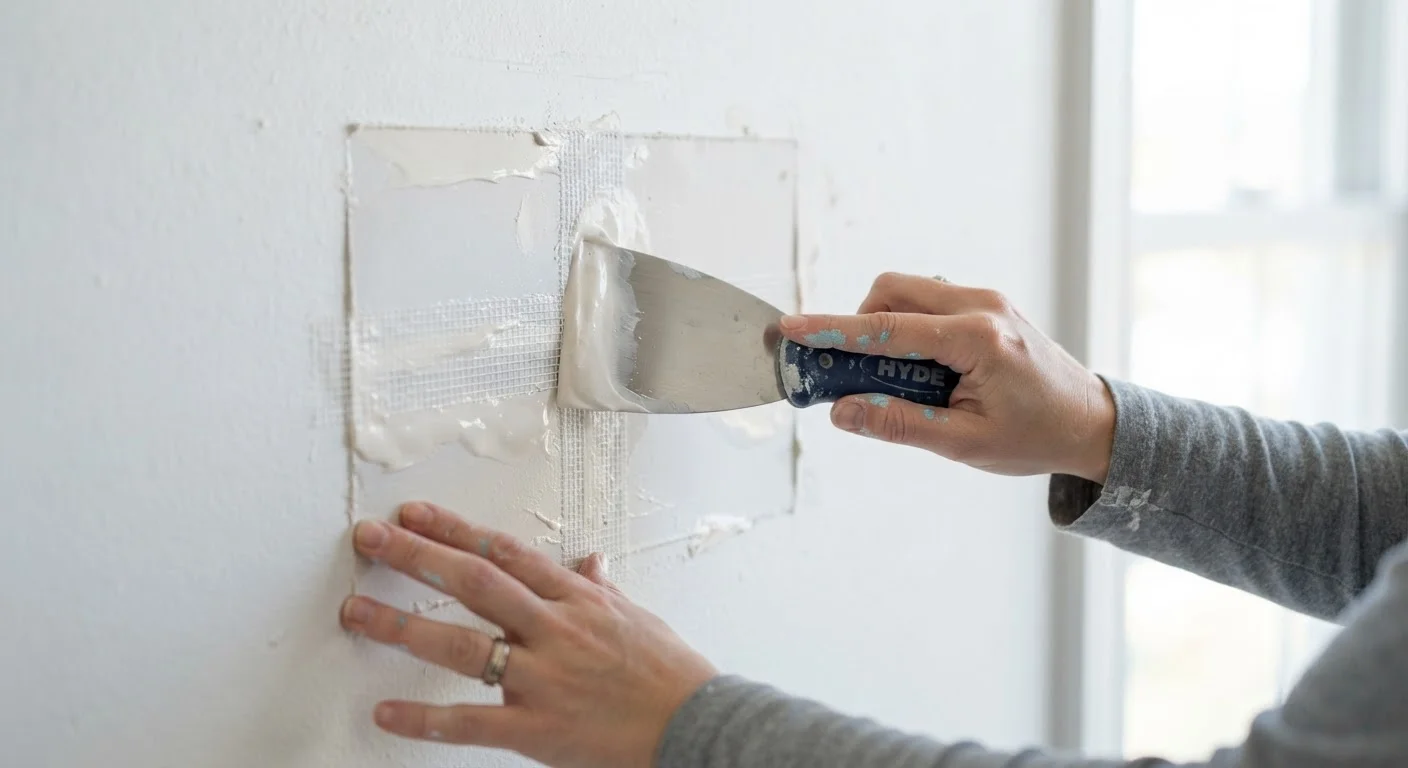
Using your 6-inch taping knife, spread a thin, even layer of joint compound over the mesh or taped seams. Work the compound into the mesh and smooth it flat - this first coat is about adhesion, not perfection. Allow to dry completely according to manufacturer guidance, typically 24 hours at normal indoor conditions. Compound changes from gray to bright white as it dries; do not proceed while any gray remains.
Sand, then apply a second and third coat
Once dry, lightly sand the first coat with 120-grit paper to knock down ridges. Wipe away dust with a damp cloth. Apply a second, wider coat using the 10-inch knife - extend it 3-4 inches beyond the first coat and feather the edges so there's no abrupt ridge. After that coat dries and is sanded, apply a final skim coat even wider, focusing on blending the patch into the surrounding wall. Sand the final coat with 220-grit paper for a smooth finish.
Prime and paint the repaired area
Apply a drywall primer to the patched area and extend it a few inches onto the surrounding wall. This step is non-negotiable - unpainted joint compound is highly porous and will absorb paint differently from the rest of the wall, creating a dull or shiny spot called flashing. Once the primer is dry, apply your finish paint. For best results, roll the entire wall rather than spot-painting, which rarely produces a seamless match.
Patience Between Coats Pays Off
The single most common mistake in drywall repair is applying the next coat before the previous one has dried fully. Joint compound shrinks as water evaporates - applying a second coat too soon traps moisture and causes cracking. Plan for at least 24 hours between coats in normal indoor conditions, longer in humid or cool environments.
Troubleshooting Common Patching Problems
Even careful work sometimes runs into setbacks. Here's how to address the most frequent issues:
- Patch is bubbling or cracking
- Usually caused by applying too thick a coat at once or painting before the compound fully dried. Sand the area smooth, allow extra drying time, and reapply compound in a thinner coat.
- Visible seam or ridge after painting
- The compound edges weren't feathered wide enough. Sand the transition zone with 120-grit paper, apply one more thin coat extending 2-3 inches beyond the previous edge, and repaint.
- Texture mismatch
- If the surrounding wall has a knock-down, orange peel, or skip-trowel texture, you'll need to replicate it before priming. Practice on scrap board first.
For help deciding which repairs are within safe DIY territory - especially in older homes where walls may contain hazardous materials - see our honest assessment of DIY limits.
Older Homes: Check for Hazardous Materials
Walls in homes built before the 1980s may contain asbestos-containing materials or lead paint. If you're unsure of your home's construction history, have the area tested by a qualified professional before cutting or sanding. Disturbing these materials without proper precautions poses serious health risks. For bathroom walls specifically, review moisture and wet-area considerations covered in our bathroom renovation guide.